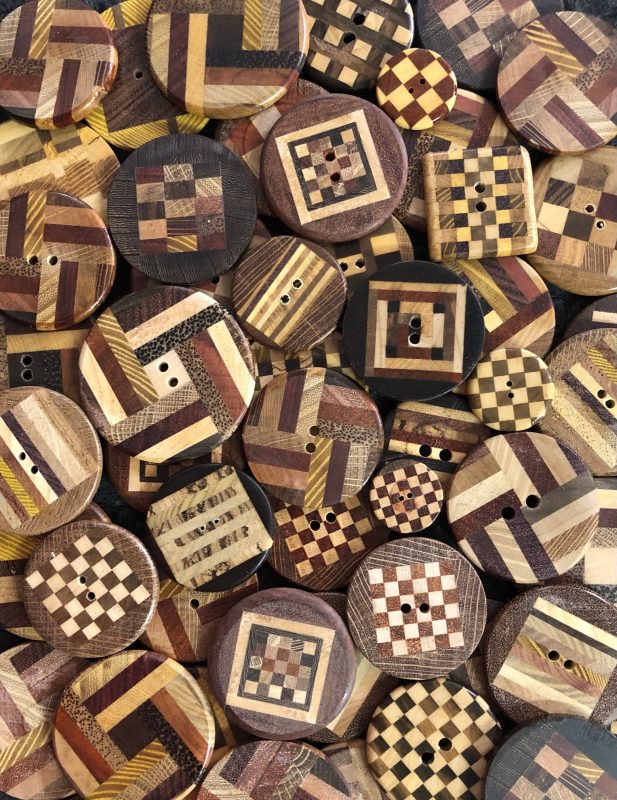
As I write this I think of all the steps in the button making process and almost think of how daunting it is!
Ross harvests the trees from a mature woodlot. Some wood we buy, but some comes right from our local area.
Ross hires and helps a friend saw the logs into lumber, and then the wood has to dry awhile.
The wood has to go through a planer, jointer and a table saw.
Ross cuts the wood into small pieces and glues them together in a design about 10 inches long.
The next step is to put the rectangle on the lathe and turn it into what looks like a refrigerator cookie log.
Then there is the turning between each button leaving it attached in the very middle. Sanding the outside is very important at this step.
The button then goes to the saw to cut them apart.
The buttons are individually sanded. Did I mention sanding? So much sanding goes into these individually!!
The buttons are sprayed with polyurethane, doing several coats with some light sanding sometimes!
There needs to be holes so he uses the drill press.
Now a person can see why these are more expensive than a button card from a box store!!
Glueing the little pieces of wood together
Turning the logs and separating the buttons
Sanding at every stage!
Drilling the holesSpraying the finishThis is a quilt hanging I made showcasing many of the buttons. The yarn is made from corn so my dad got a kick out of that! A wool coat with the wooden buttons. It won a few awards.This coat won several awards. Everything is recycled. The buttons are 2.75 Inches.